
How to make a great wood cutting board
— March 30, 2017Wood cutting boards are a great first project if you are planning to take up woodworking as a hobby or even if you are considering taking your woodworking skills to another level. In addition to improving your woodworking skills, by undertaking this work, you will have the opportunity to make a personalized wooden cutting board, either for yourself or as a present for someone. However, if you don’t have the time to do this by yourself, you can always check out the great collection of wood cutting boards that Wholesale Cutting Boards have to offer, which is the better option if you want to buy wood cutting boards in bulk.
Step 1: Get Materials
To make a wood cutting board yourself, you will need to get some essential materials that are going to be necessary for that task. You will need a precisely cut dense hardwood that has a closed grain, some parchment paper, scrap wood, the wood glue that is waterproof, mildew, as well as heat resistant. In addition to that, you will also need a rag, 2 pipe clamps, bar clamps, chisel, orbital sander, some sanding pads and a food safe finish, such as mineral oil or beeswax.
Step 2: Assemble Pieces Together
The first step in creating your own wood cutting board would be assembling the wood. The first thing you will need to do is to check if the wood is warped and that it is smooth on the sides. You will use the parchment paper to prevent cutting board bits from sticking to scraps when glued. A good idea would be to purchase the wood boards from a cabinet or mill shop.
Step 3: Glue Pieces Together
The next step would be to glue the center of the board together. Use the center piece of wood to apply glue to it, spread the glue with your finger and then attach the left and right pieces. After this, you should clamp the boards in place. When doing this, you should wipe any glue that got squeezed out with a damp rug. You should leave the board clamped at least for a few hours, although it’s a good idea to leave it like that overnight. Use the chisel to wipe off any excess glue that remained, which has to be done with care, before you apply the food safe finish.
Step 4: Finishing Touch
After you’ve assembled your wood cutting board, you should use the sander to prepare the board for the finish. Make sure that there is absolutely no glue left on the board and then apply several coats of your preferred food safe finish across the whole board. You should allow the oil or beeswax to fully absorb into the wood before you start to use it.
About author
Related Articles
-
-

DIY Cleaners for Every Corner of your Kitchen
July 12, 2018 -
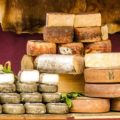
The Differences in Cheese Qualities
July 3, 2018 -

Different Ways to Maintain a Wood Cutting Board
July 3, 2018

Properly Storing your Cutting Boards
— May 21, 2019When setting up for a warehouse, there are a few things that you have to keep in mind if those…
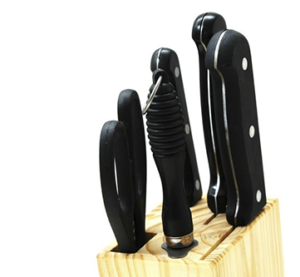
Caring for your Knives
— January 17, 2019Although some cutting boards, such as hardwood boards, keep your knives in good shape, it takes proper care and maintenance…
Leave a reply